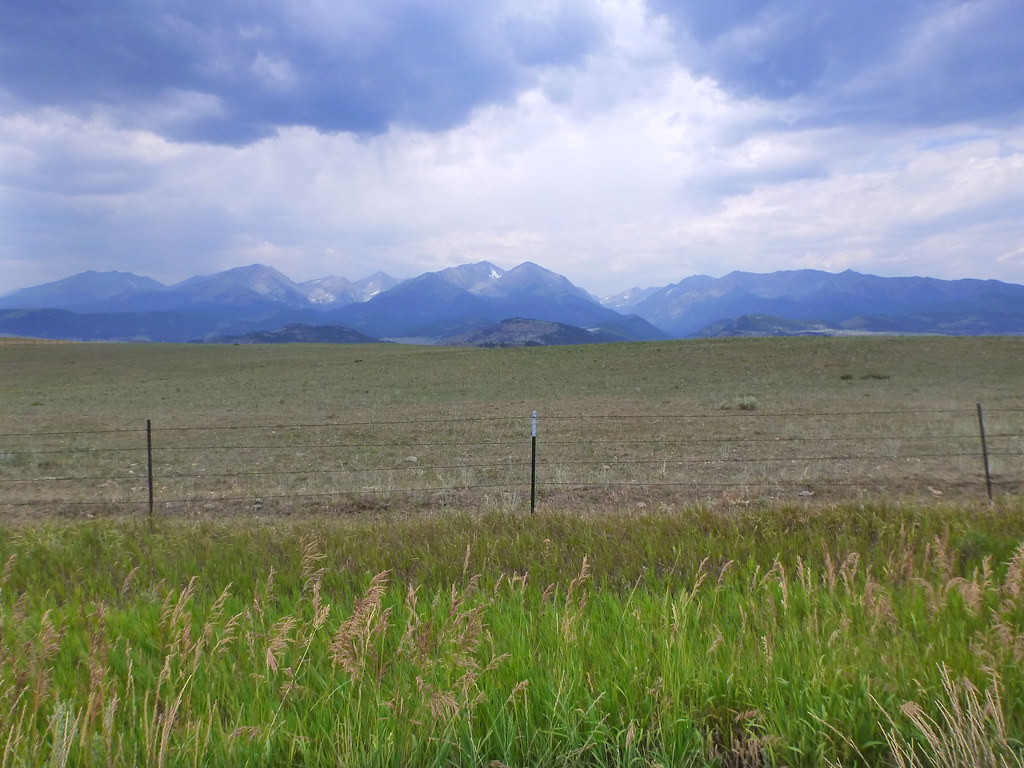
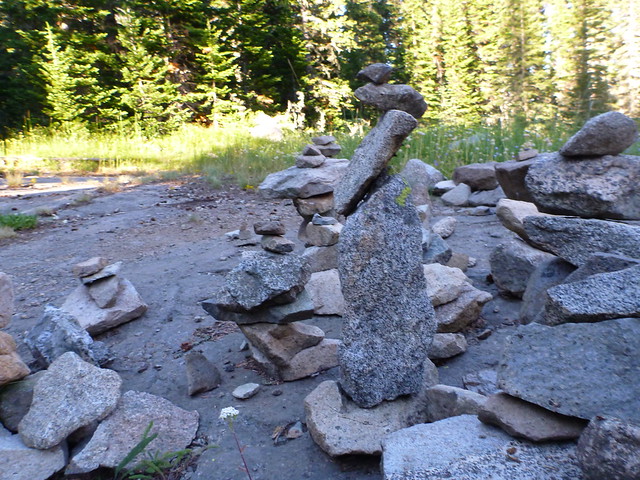
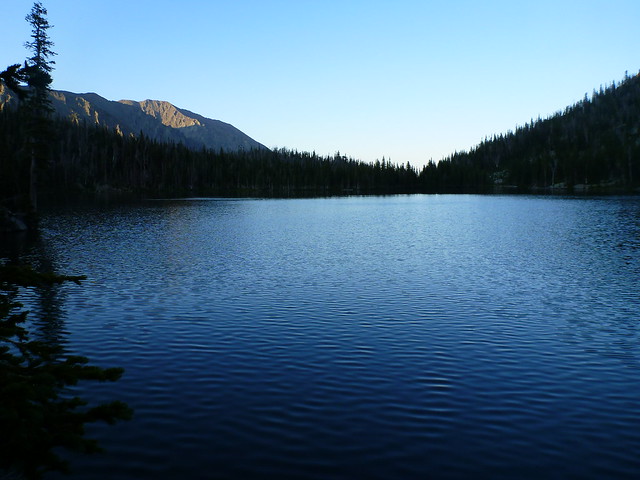
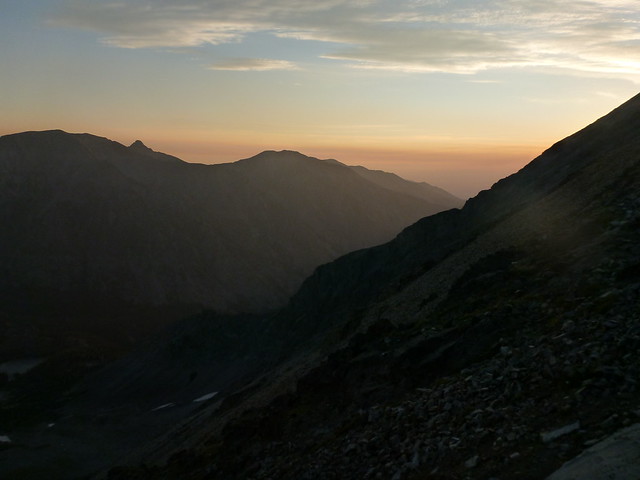
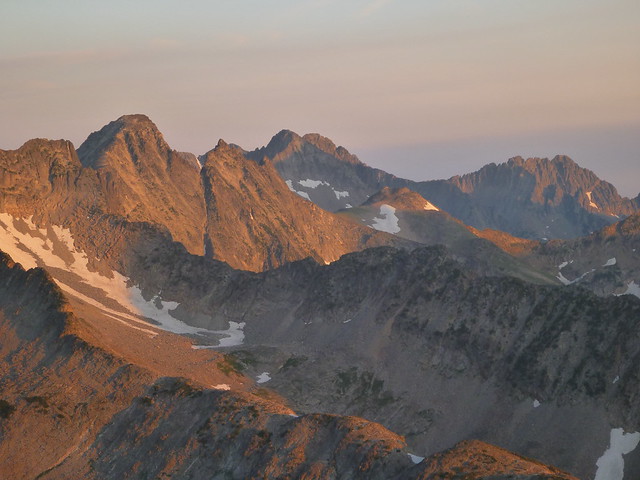
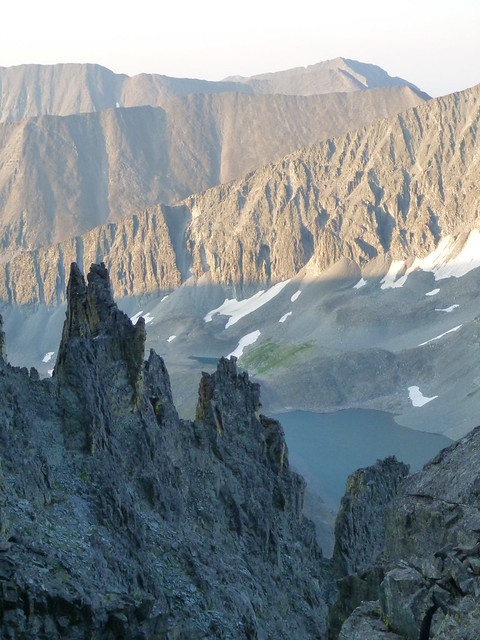
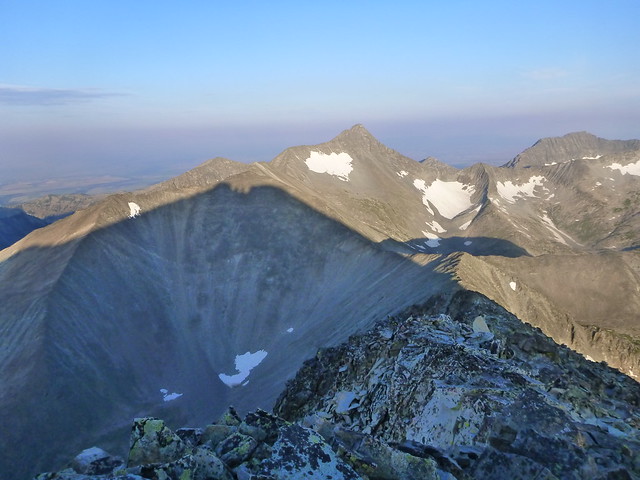
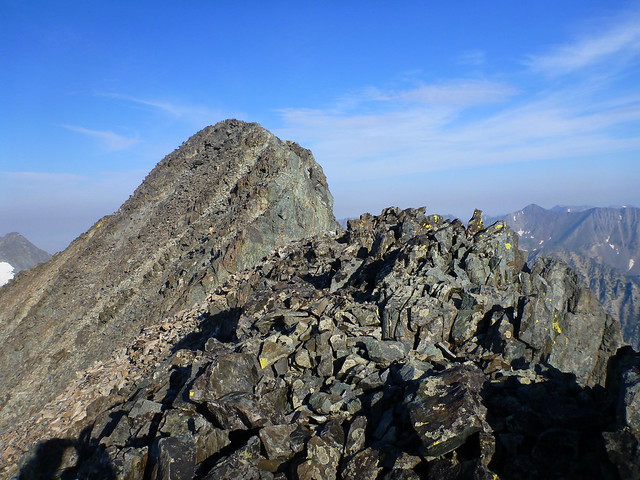
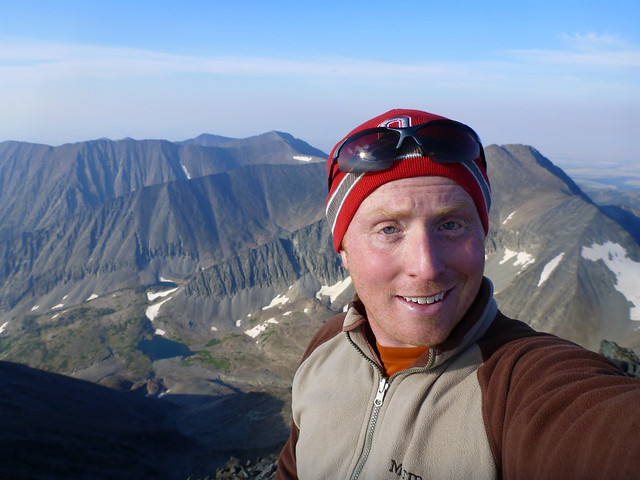
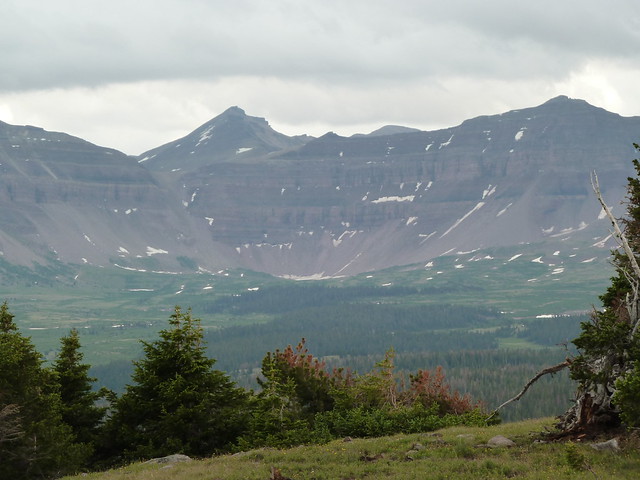
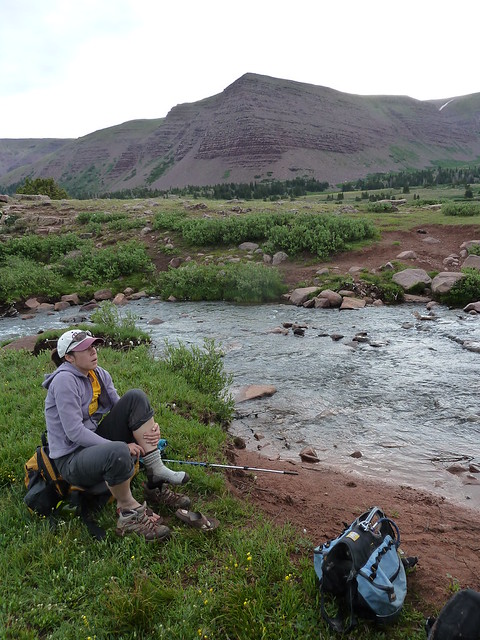
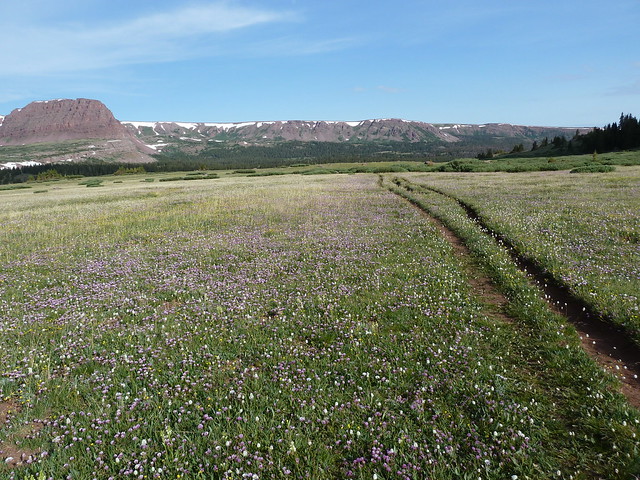
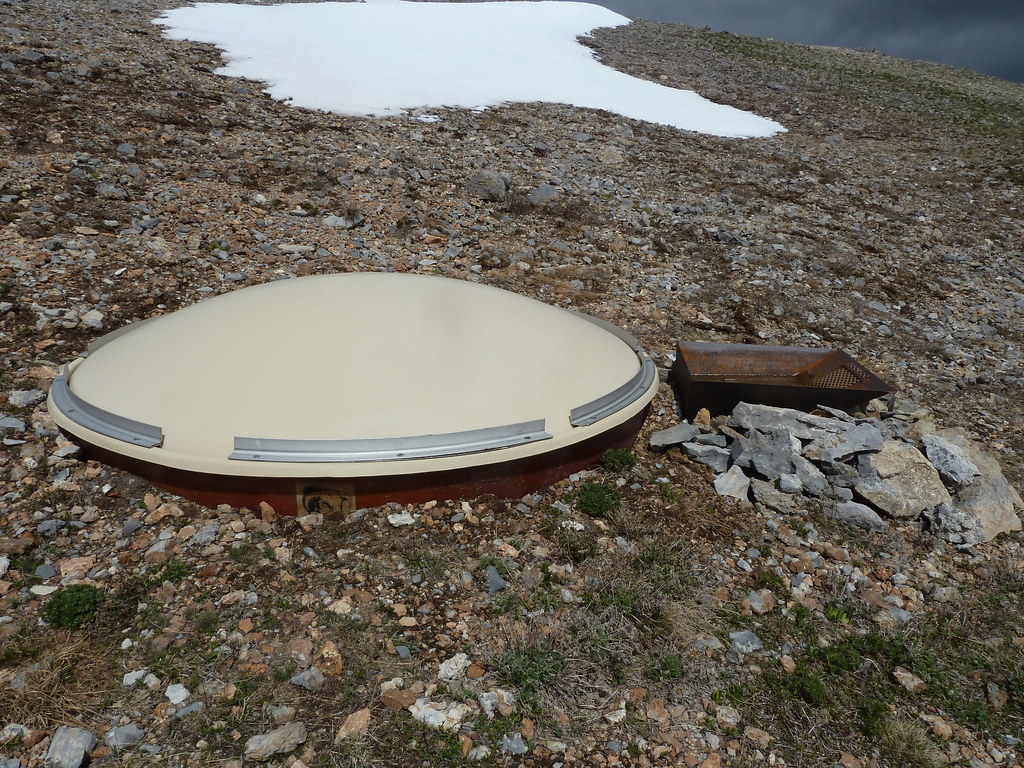
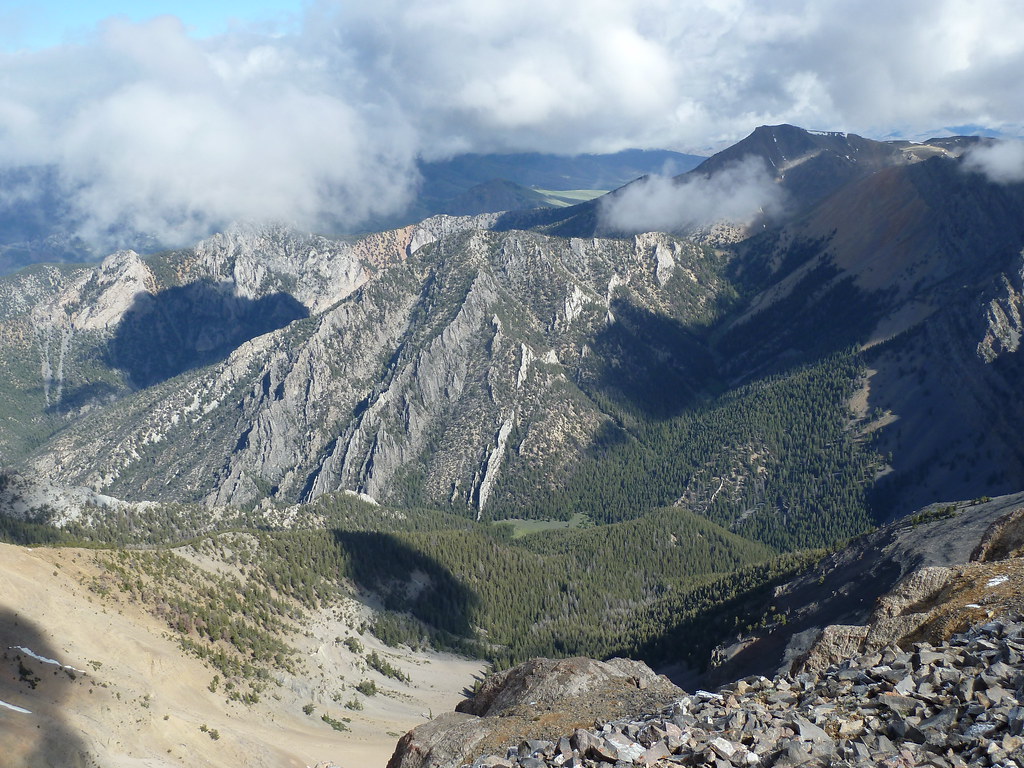
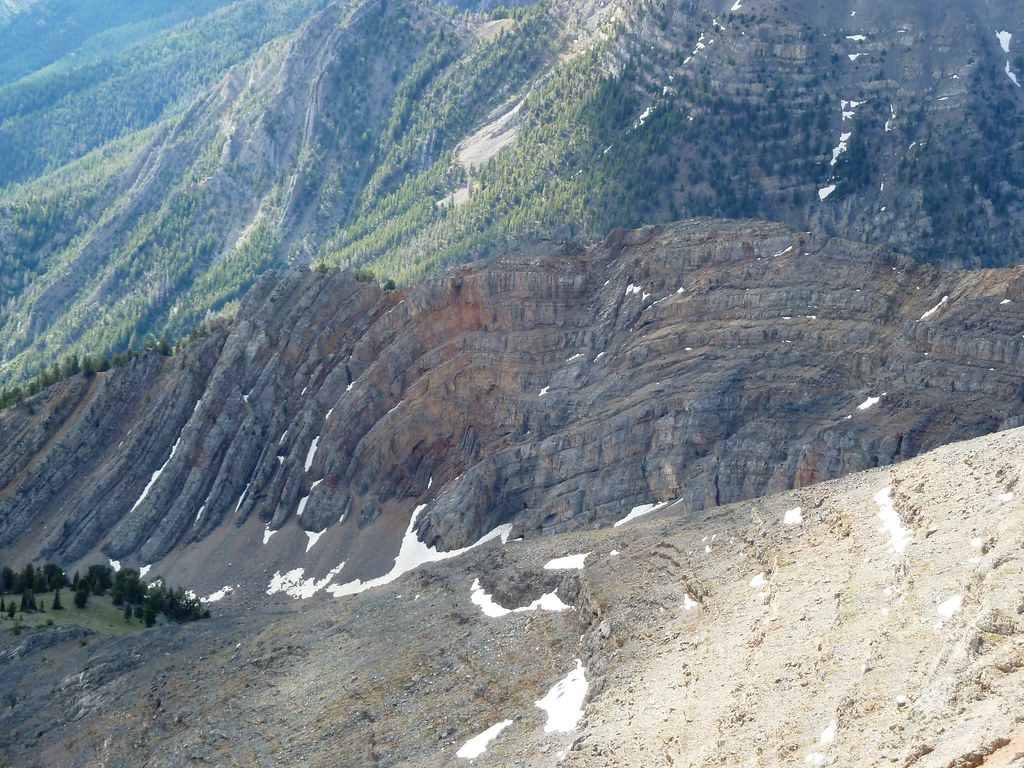
The last few weeks have been hectic. Tory and I have seemed to be going non-stop to prepare for our upcoming wedding. It was nice then, for my birthday, that she set aside a whole day for some rest and relaxation. Of course when I say “Rest”, I mean “climbing 2,000′ up a snow-covered mountain.”
Yeah, I was ready to put some elevation under my boots.
Pilot’s Peak is a P2k (peak with 2,000′ of prominence) only 90ish minutes outside of Boise but somehow I had yet to have climb it. It was always one reason or another: too much time, not enough time, too many snowmobiles, not enough snow, etc. Today, though, the stars aligned and everything was perfect. There was little enough snow at the trailhead to discourage snowmobiles but plenty above to keep out ATVs and dirt bikes. The weather was cloudy and a little snowy which kept most people at home. Result: we had this normally crowded peak all to ourselves.
Vuyo leads the way. Vuyo always leads the way.
From Mores Creek Summit we hiked up the road to a creek crossing at about 7,100′ then put our snowshoes on and made a straight shot for the summit. We had on-and-off snow flurries that made it feel like a winter wonderland. The climb was easier than either of us expected and we were at the top in less than 2 hours.
The summit of Pilot’s Peak isn’t very picturesque. But at least it was empty and quiet.
As we had lunch at the top the clouds cleared out a bit and we could see snowy mountains all around us. The wind still kept it pretty cold up there though so we didn’t stick around too long.
Tory and Vuyo from the summit, with the vast wilderness of the Boise Mountains behind them.
I’m glad Tory has such a photogenic pup. Here’s him at the top, surveying the mountains before him. Or watching a squirrel, or a whatever.
Once back at the trailhead I suggested we do some reconnaisance on some other nearby peaks. It was my birthday so Tory couldn’t say no 🙂 We drove around a bit then went back to Idaho City for and got some “real” R&R at The Springs.
I’m looking forward to my 30s. I’m getting married to a woman who obviously knows me well and loves me (and is an accomplished climber herself). I live in a state that is stuffed to the brim with wonderful mountains, and I have a whole bevy of friends to explore them with. And after all, my 20s were mostly pretty fun and I was only a climber for about 60% of them. Imagine what I can do with an entire decade!
The first time I drove up US-95 into the Owyhee Desert, on a trip to Leslie Gulch, I was fascinated with the landscape around me. In all directions rock buttes and spires stuck out of the sagebrush desert like ships on rolling ocean waves. It just begged to be explored.
4620, seen here right-of-center, is pretty typical of the surrounding landscape.
Fast-forward nearly 3 years later to a sunny long weekend in February. The inversion that had lingered for the last month was lifted and I couldn’t wait any longer to get out. I opened up a map of peaks near Boise and remembered those Owyhee spires. Were any of them real peaks?
Answer: more than a few. The closest two are Buck Mountain and Peak 4620. They’re more modest than many of the rocks Owyhee County has to offer but they make for a great day trip from Boise.
Buck Mountain is at top-center. 4620 is in the far right corner. This map shows our approximate route and the access road off US-95.
The access road is 13.5 miles up US-95 from it’s intersection with 55 east of Marsing. We parked in a switchback and started hiking toward Buck Mountain. The high water in Squaw Creek made for a comical crossing. On the way back we crossed via a bridge that may or may not be private property–there were no signs.
Buck Mountain is seen at the head of this canyon.
The hike to Buck Mountain was simple and satisfying. We followed a draw between two rocky outcroppings and even got in a few class 3 moves; which, like all scrambling on this trip, could be easily avoided with a bit of routefinding. Vuyo enjoyed a futile chase after a herd of Mule Deer on the way. The summit was a bit underwhelming . . . it was the only flat peak in the area. The view of the surrounding towers, though, was satisfying.
Dan makes his way up 4620
We made our way across the plateau west to Point 4620. It looked a bit more exciting. From the base we scouted a few options for getting to the top of the summit block. You could make the climb as easy or hard as you want. Dan & I chose a steep ramp that provided a bit of fun class 3 while Steve & Tory took Vuyo on a more dog-friendly route. From the top we did our best to name all the buttes surrounding us and noted that Share’s Snout and Piute Butte looked like potentially fun trips.
At the top of 4320; Piute Butte is center frame on the horizon.
Instead of backtracking we dropped down to the road just below the peak. It was then just a quick and easy walk back to the car. Total mileage was 3.5ish and finished early enough to stop at Messenger Pizza on the way home. It was a great start to another year of climbing.
My future vacation property. Well, one of them.
Climbed Buck Mountain? What about Share’s Snout or Piute Butte? I’d love to hear your story.
3 Peaks near Stanley, including my 100th peak in Idaho
Last weekend was the Idahosummits annual fall outing. Dan, of idahosummits.com, hosts this outing every year and invites climbers from all over the state and beyond to get together, share stories, make friends and climb mountains.
This year we met at a campground near Stanley and climbed Lookout Mountain in the northwest White Cloud Mountains. I very much enjoyed the Friday night camaraderie. It was very nice to see familiar faces and meet new folks alike. Lookout Mountain was a great hike, perfect for beginners because it was on trail the entire way.
The gang at the top of Lookout Mountain
I won’t spend a lot of time on the events of the outing since other authors (Dan and Splattski) have covered it and done a fantastic job, and Andrew’s pictures tell a better story than I could hope to. Instead I’ll focus on the 2 peaks we climbed apart from the group: “Rough” and Alpine Peak – the latter being my 100th in Idaho.
After climbing Lookout Mountain we parted ways with the group to follow the ridge to a peak that ListsofJohn.com just calls “Rough”. Well, thankfully the name was not very fitting. In fact, Rough was a very pleasant hike. A trail led to the saddle and from there it was a short, not-to-steep climb to the partially-forested ridge. Trees blocked views to the west but the view of the White Clouds to the southeast was arguably better than on Lookout Mountain.
Tory and Vuyo at the top of “Rough”
Fantastic view of the White Clouds. Why haven’t I visited those mountains yet? Castle Peak, as always, looms above everything.
The main reason we climbed Rough was so that Alpine Peak, in the Sawtooths above Alpine Lake, could be my 100th peak in Idaho. It was also very excited to finally visit Sawtooth Lake, which I have wanted to see since moving here in 2011. The hike lived up to the hype and got more and more beautiful as we went deeper into the wilderness.
A one of a million shot of Mount Regan & Sawtooth Lake
Alpine Peak was supposed to be a very straightforward hike to the summit from the lake trail. It was harder to spot the route than we expected, though. We ended up ascending the wrong gulley and had to traverse around a couple sawtoothy towers to get back on track. The view was tremendous but we wanted to get home so we took a quick break at the top and made our way back to Boise.
On the top of my 100th Peak, Alpine Peak in the Sawtooth Wilderness
The view was fantastic in every direction. We could see the Lost Rivers, White Mountain, Cabin Creek Peak & Big Baldy in the Frank Church Wilderness, the White Clouds, the Boulders, much of the Boise Mountains and of course this view deep into the Sawtooths. So many peaks to climb!
Now that I’ve climbed 100 peaks I feel qualified to list my top 10 favorites! Coming soon . . .
To late for snow season? Try this exciting snow-free route.
Last June I crossed off a peak that had been sitting near the top of my list since moving to Idaho: Dickey Peak. Dickey Peak is a 3K prominence 11er. That’s what originally brought it to my attention. I had hoped to use the west slopes as a training climb for Mount Hood. My crazy work schedule prevented me getting to it in time but as soon as I got a day off I sped out to Dickey and climbed the South Ridge.
Looking up the long South Ridge. Actually, it isn’t that long. It’s just right.
I hadn’t read much about the South Ridge but it seemed straightforward most the way with a gulley near the top that may be tricky. That definition actually was pretty fitting. From Doublespring Pass road the hike started with a nice warm up on a mostly flat road before climbing the first 600′ to the ridge. I took a break; the sunrise over Thousand Springs Valley and the chill morning air mixed to create a wonderful mountain cocktail I had to stop and enjoy.
I couldn’t help but turn around every few minutes to enjoy the view of Borah. It’s moods changed all day as the sun rose and the clouds moved.
The next 2,300′ went by so quickly! It was just straight up the ridge. The ridge never got too steep or too gentle; it was a nice constant grade virtually the entire way up. The talus was mostly solid; very little of the dreaded “2 steps up, 1 step back” Lost River Range climbers become so familiar with. In no time I was at Pt. 10858 and staring at the Dickey summit block. Behind me a snow-covered north face of Borah looked majestic as always.
Getting close to the top of the ridge now. That’s Dickey on the left and a false summit on the right.
I wouldn’t say the summit block was tricky; I would say it was fun class 3 with just a hair of exposure to keep you honest. Yes, the rock was mostly loose but at this point I was so close to the top that a little sliding hardly phased me. I had a notion to cross a bit of remaining snow for practice but declined since I was alone on the mountain. I took the left-most gulley up and the middle gulley down. The middle gulley is better.
The snow I thought of climbing is on the left of the summit block. I climbed up the chute just above it and down the middle one that is mostly in shadow.
Just a little more scrambling past the chutes and I was at the top. The view was incredible (am I sounding like a broken record with that?) with Borah dominating the south, the Lemhi’s to the east, Pashimeroi Mountains up-close-and-personal to the north, and the Great Wall of Pioneer-Boulder-White Cloud that is now so familiar to the west. Thousand Springs Valley and Doublespring Pass below.
Looking north at the Pahsimeroi Range. It’s incredible what 1000′ of elevation can do; this range rarely gets visited by climbers. Especially compared to the 12ers just to the south.
The climb down was fast and fun. A few hours later I was back in Hailey to enjoy the rest of the afternoon.
Dickey makes a great snow climb (or so I’ve heard) but if you miss it during snow season, try the South Ridge. I had a great time.
Looking for a route that links these high Beaverhead peaks, I quickly got in over my head.
I had no idea what I was getting into. Scott Peak had been on my list for awhile, being one of my Idaho Top 10. I was looking for something a little more though. Of course, adding Huh’s Horn and Weber Peak and the Clark County HP is pretty standard. But nowhere could I find information on making the traverse to Italian Peak. Tom Lopez’s description of Italian Peak in “Idaho: A Climbing Guide” makes it sound pretty rough. But how bad could it be? I made my plans to do the entire traverse, and set out from Salmon on a Friday morning for a long day of climbing.
The route up Scott Peak. The only challenge was all the loose rock. Otherwise, class 2.
Scott Peak was simple enough. I took the south ridge (the ridge that passes Pt. 10249) to avoid the worst of pretty rotten talus in the bowl. Getting up to the ridge was rough but once I gained the ridge it was smooth sailing. I’ve never seen so many fossils on a mountain before.
Saw this guy on the way up. It’s always nice to see some wildlife.They were everywhere, mostly tiny fossils imbedded in giant boulders and rocks.
Before tagging Scott, however, I cut east to Weber Peak and the Clark County HP. Climbing county high points is not a goal of mine, but someday it might be so I figured I should do it while I’m up here. It was a fun and pretty easy ridge hike. Upon topping out of the 2 points that share the highpoint, I turned around and made the march back to Scott Peak. Scott was #5 on my list and it was a joy to reach the top. The summit is very big and flat, enough to fit a dozen or so tents. The summit log was water damaged and in shambles. I found a spot to scrawl my name. The weather looked good. Time to try this traverse.
The view back down Scott Canyon, with Diamond Peak and Bell Mountain book-ending the frame.The USGS Benchmark for Scott PeakLooking at Huh’s Horn from Scott. Huh’s Horn obstructs the view of the rest of the traverse.
The first part, getting to Huh’s Horn, was easy and very straightforward. After Huh’s Horn, however, I had no beta on the traverse. All I had was my topo map. I figured I would try to follow the ridge as much as possible, and located a gully just east of Huh’s summit that I could use in case I got cliffed out. In fact, after a very short hike down the ridge I did get cliffed out. I turned around and worked my way back to a gully that looked like it would drop me far enough. As it turned out, this was the first of many times I would repeat that process: get cliffed out, turn around and descend a gully. Most of the gullies involved sliding down scree then down-climbing a 5 to 8 foot cliff. Nothing very exposed or technically difficult.
Looking back at the traverse from the slopes of Italian Peak. It’s as daunting as it looks. Might be easier going west-to-east; then you could see the cliffs coming.
After a couple hours of this I reached the saddle. From here it looked like a straight climb to the top, and boy was I glad. Once again, though, Italian Peak fooled me. At the summit I saw what Tom Lopez mentions in his book; there is a difficult traverse from the east to west summit. It looked out of my league, especially alone and tired as I was, so once again I dropped down a gully. This time, the gully also cliffed out. At one point I slipped on some scree and found myself sliding toward the cliff. To arrest I dragged my hands, feet, knees (anything i could) across the rock for friction. It stopped me, but not without numerous cuts on my hands and in my pants. I was forced to retrace my steps almost all the way back to the saddle, then around the base of the east summit. From there I could finally get to the top. I was tired, dehydrated, and my nerves were shot. But now it was just a scree slide back down to treeline.
My route on Google Earth. Soooo much backtracking.
I learned two things on this trip. 1) I like exploring new routes. 2) I shouldn’t explore new routes alone. That being said; I made it down safely and climbed 3 peaks plus a CoHP. It was a pretty successful day.
Bonus: I may have discovered Idaho’s highest natural arch. 10,850′. Anyone know of something higher?
The Princess was once again in village of Mackay on her quest to claim the Crown of Idaho. She had already faced 5 of the 9 trials required to claim the crown: she passed the ‘test of the chicken’ to reach the land of Beauty; she defeated the treacherous Man of Leather, claimed the Diamond of the Lemhis; was knighted by Sir Donaldson and prayed in the High Church. Now she would face her greatest challenge yet. Deep in the mountains was a jewel called “Riverpeak”, and it had been lost for many centuries. The Princess had to find it.
This time she did not come alone. With her on her quest was the brave knight Sir Mark of the Mountains. Sir Mark had brought with him an ancient map that showed the location of the Lost Riverpeak. She also brought her companion, the ever-courageous HappyDog.
The bold adventurers: The Princess, Happydog, and Sir Mark of the Mountains
Even with the map, though, their journey would be perilous. See, there was a reason the Riverpeak had been lost for so long; It was guarded by a terrible monster. The monster slept high above Mackey, ever guarding the secret route. To reach the Lost Riverpeak, they would have to face this monster: the Super Goblin.
But lore of the land told of a way past the Super Goblin. Every night, while the Super Goblin sleeps, his white tongue freezes solid, keeping him from swallowing the adventurers whole. Only by climbing straight up the frozen tongue could the adventurers reach their goal.
The ominous Super Goblin looms above their campsite. Soon it will be sleeping . . .
So it was, on the 8th day of the 6th month of the 14th year of the 2nd millenium, The Princess, Sir Mark and HappyDog left before the break of dawn and climbed toward the Super Goblin. They went quietly, ever careful to not wake the beast. When they reached the top of the trees, in the sun’s light first glowing light they could see the sleeping monster; it’s tongue still a stark white.
The Princess and Happydog begin climbing the frozen tongue.
The Princess entered the mouth of the Super Goblin, carefully climbing over his rotten, broken teeth to reach the tongue. There the adventurers strapped on their crampons and brandished their axes to face for the beast. But as legend foretold, the tongue was frozen and try as he might, the Super Goblin could not swallow them. They boldly made their way up, step by step, the fearless Happydog leading the way; the Super Goblin helpless against their approach.
Nearing the top now . . . almost to safety!
Then they saw it; in the distance, behind the Goblin, at the end of a short ridge: The Lost Riverpeak! Safely out of the goblin’s reach, she hurried to claim it. Now the Lost Riverpeak was found, and she had completed the sixth trial. The Princess smiled; she had surprised even herself this time.
Happydog spies the Lost Riverpeak in the distance!
Her trial complete, the princess can enjoy the wonderful view.
The Super Goblin, knowing he was beaten, allowed them to pass safely on the way home. As the months wore on, his frozen tongue melted away, leaving only his rotten, loose, broken teeth. The Princess, Sir Mark and HappyDog returned to Sir Mark’s holdfast at Hailey to celebrate.
Down toward Mackay, beyond the jagged maw of the Super Goblin.The Princess and Happydog stand victorious, having claimed the Lost Riverpeak and completed the sixth trial.
That evening, The Princess looked upon her daunting next trial. To claim the Crown of Idaho, she must hold council with a wise old pioneer living high above Hailey Keep: A sage known only as “The Hynd Man” . . .
After failing the first time, I take another shot at this Pioneer Mountains 10er.
Distance: 8.5 miles RT
Climb: 3,900’
Directions: Park at the Federal Gulch Trailhead and hike the Federal Gulch Trail 3.5 miles to the start of the south ridge. Go up.
I had tried Gray’s once already this year. It was supposed to be an introduction to snow climbing. Out of shape, out of practice and out of my element, I stopped 600’ from the summit. It was one of my worst days in the mountains. The climb was the culmination of a series of rough months and what followed was a period of depression and hopelessness. A week after the climb I moved to Hailey for work; I had all but given up on my climbing goals for the year.
Bellevue, ID as seen from Rattler Butte, on of my many training climbs.
Flash forward one month; I’ve been living in Hailey and have had little to do other than work, exercise and climb. It seems the change of scenery was exactly what I needed; in 4 weeks I climbed 14 peaks near town and jumpstarted myself both physically and emotionally. It was time to give Gray’s another try.
Looking back at Federal Gulch Saddle from the beginning of the South Ridge.
We had two major changes this time: there would be little-to-no snow and we would be taking the South Ridge route instead. I liked this route a lot, though I would not recommend it if there was significant snow. On the easy Federal Gulch Trail we knocked out the first 2000’ (half the climb) without even noticing. Side note: Just the hike to the Federal Gulch saddle would make a great dayhike. From there the trail took us around to the South Ridge and the real climb began.
Tory making her way up the South Ridge. The worst is behind her.
The very beginning of the South Ridge, honestly, was miserable. The first 300’ or so was very steep and very loose. We just took it slow and steady looking for the most solid lines. Once that section was over it was smooth sailing. The ridge has a series of bumps that made great rest stops along the way to the top. As we reached the final roundover we were in for a surprise: a cornucopia of ladybugs carpeting the rocks at the summit. And of course, the view from the top was spectacular. We could see 8 major mountain ranges; can you guess which 8 (hint: the black and white picture at the top is one of them)?
Hypodamia convergens: natural mountaineers.
Gray’s Peak marked a turning point for my year. I’ve regained confidence that I can achieve my goals, whether climbing or otherwise. Hopefully the momentum from my time in Hailey and from succeeding where before I had failed will continue. For now I’m taking it one mountain at a time.
Living in Salmon has its perks. So does the having the occasional 3-day weekend. When these two things collide, something magical happens: I have the chance to head to the most prominent peak in Montana, an Alpine-88 peak called Crazy Peak. Crazy Peak is the eponymous high point of the Crazy Mountains, and it earns it’s name. It’s a fantastic class 3 scramble that includes a set of incredible mountain lakes, some exciting exposure and a tricky traverse to reach the summit.
Crazy Mountains from the east. Crazy Peak is the big on in the middle.
I left for the Crazy Mountains friday morning, intending to take a long way up via Smeller Lake. When I reached the Smeller Lake trailhead, however, a maze of cow trails (complete with angry cows) made finding the real trail exceedingly difficult. After a half hour of searching, I packed up and headed to the other side of the range to climb the standard route from Big Timber Creek.
Big Timber Creek CanyonSome interesting cairns encountered along the way.My first look at Crazy Peak from the trail.
That night my goal was to either a) climb 2000 feet, b) hike 2 miles or c) reach Granite and Blue Lakes. I accomplished all 3 and enjoyed a fantastic campsite between the two lakes. The area was fairly popular that night and I ran into at least one other group planning on climbing Crazy Peak the next day. I got everything together for the climb and went to bed just before sunset. At 4:30AM the Saturday morning I started my hike. I had identified a starting point the night before, and the climb quickly took me to a small ridge seperating the valleys above the lakes. It was too dark to get a good idea of where to head next (continue up the ridge or drop into one of the valleys), so I waited for 30 minutes for the sun to come up. I then could see a decent route–a steep grassy ramp that climbed the North Face. Once at the base of the ramp I found a series of cairns leading up. Score!
Big Timber Canyon at SunriseThe Crazy Mountains. Some of them, anyway.
The ramp was steep but pretty fun. The rock was mostly very solid and included a bit of class 3 scrambling. 1000′ later I was at the ridge and the view was jaw-dropping. The steep-sided Crazy Mountains were alight with red morning sun, and Crazy Lake was perched in a basin far below the ridge. The view continued the entire way up the ridge. Most of the ridge was class 2 with little exposure all the way to the false summit, just a few feet shy of the true summit.
Pinnacles over Crazy Lake, from the ridge.I just now noticed, as I inserted this picture into my post, that there is a second goat.This shadow was very telling of the challenge ahead. The rounded bit on the right is the false summit, followed by the 2 towers around which one must traverse to reach the true summit on the left.
The traverse to the true summit was the trickiest part of the climb. To reach it, I had to descend 20 feet down a crack in the mountain, traverse around two towers, then scramble to the summit. The view from the real summit was even better, stretching far across the prairie below. Before descending I hiked east along the summit ridge to get a better view of the sheer cliffs of Crazy’s east ridge and fast. It was worth it!
The summit of Crazy Peak, from just down the east ridge.The cliffs of Crazy Peak’s north ridge. The 80′ contours on the USGS map belie the rugged nature of the peak.At the summit. The sun was in my eyes.
The hike down was pleasant as well. I ran into some climbers heading up a bad gully next to the ramp I had climbed. I suggested to them that they change course, but they did not listen. Oh well. I took a slightly different route down, dropping into the basin above Granite Lake. It was more scenic than the route up but would make a more difficult climb. One waterfall, beautiful creek and lake later I was back to camp.
I saw lots of these little guys hanging out between bits of talus.A large chunk of snow that calved off from the canyon wall. The waterfall is just above granite Lake.Granite lake is a stunning place and well worth the short detour.
– – – – Crazy Peak – – – –
Difficulty: Difficult (Class 3)
Distance: 10 miles round-trip
Elevation Gain: 4,900′
Prominence: 5,709′ (Ultra-Prom, #1 in Montana)
Elevation: 11,209′
Highlights: One of the most fun climbs I’ve ever done, with incredible scenery from trailhead to summit.
Driving Directions: This is a long one. From Idaho Falls, take US-20 north to West Yellowstone. Turn North onto US-191 and follow it 90 miles to Bozeman, MT where 191 joins with Interstate 90. Continue on 191/90 until 191 splits again, heading north at Big Timber (exit 367). Continue north on 191 north 12 miles. Signs indicate forest access at Big Timber Canyon. Follow these signs, turning left on Wormser Road. 2 miles down Wormser Road, turn right onto Big Timber Canyon Road and follow it 13 miles to where it dead-ends at Half Moon Campground and the trailhead. 9 hours total from Boise.The Route: As b. points out on Summitpost, there are many decent ways to gain the West Ridge, but they all start by taking the Big Timber trail and the Blue Lake trail to Blue Lake. I took the rocky ridge immediately south of Blue Lake to a small (likely seasonal) tarn at near 9,150′ (shown on the Crazy Peak topo map). From there I dropped off the ridge on climber’s left and climbed up a short talus field to a steep gully (see pic below). The gully was cairned, and I followed it or the ramps on either side all the way to the West Ridge. Once on the ridge, the going is easy until the top. To reach the true summit, drop down an obvious crack to the saddle, then traverse around the two towers. The traverse should never be more difficult than class 3. Once around the towers, climb the steep but stable slope to the summit.
My route to the ridge. There are many options to choose, but this one had good, solid, fun class 2-3 rock most of the way.
Featured Photo: Crazy Peak towering over even the highest peaks of the Crazy Mountains.
An extended trip to the highest peak in Utah, in the High Uintas.
For our Memorial Day trip, Tory and I let Idaho Hiking Club choose where we went; the options were Kings Peak (Utah), Eagle Creek (Oregon) or Wheeler Peak (Nevada). They picked Wheeler, then a few weeks later Tory led a trip to Eagle Creek. So when our 4th of July trip came around we decided to finish it up with Kings Peak. But instead of just hiking the peak we wanted to make a whole loop backpacking trip of it.
Day 1: China Meadows TH to Henry’s Fork Lake
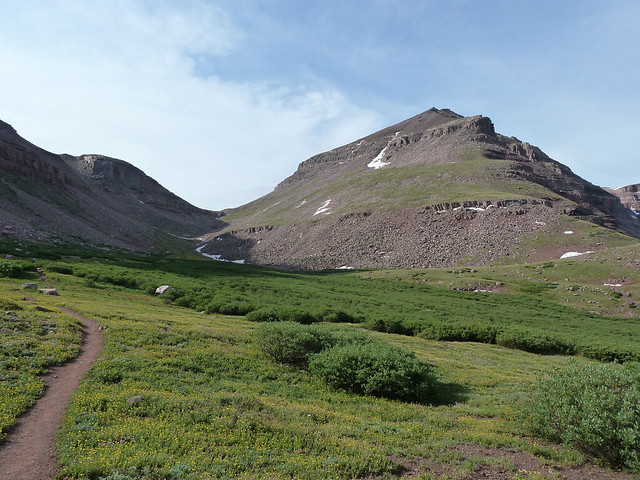
Our first view of Kings Peak. Here it s towering over Henry’s Fork Basin.
Day 1 was a long day. We woke up before dawn in Boise to make the 7 hour drive to the trailhead. A big storm came through right as we were getting to the trailhead and things didn’t look good. But by the time we were ready to start hiking it had reduced to a drizzle. So, despite the weather, and despite my lack of pants (I forgot to pack hiking pants, and had to wear my white gym shorts instead), we headed into the Uinta Wilderness
An unnamed peak reflected in an unnnamed lake.
The hike started easy and, other than the length (10 miles), never really got difficult. That first day we was Deer, Elk and Moose. We also passed 3 beautiful lakes before reaching our campsite. I had some technical difficulties with my camera (it wouldn’t zoom) but a camera couldn’t fully capture the beauty anyway. Out campsite at Henry’s Fork Lake was fantastic and set us up for a great bid for Kings Peak the next day.
The view of Henry’s Fork Lake from our first night’s campsite.I seem to be doing a lot of creek-fording lately. I guess I enjoy it. According to our neighbors at the lake, this ford could have been avoided with a little searching. Oh well. The cold water felt great on our sore feet.
Day 2: Henry’s Fork Lake to Lake 11428
Summit Day! We got a late start for a summit day. The beginning of the hike, through Henry’s Fork Basin, was beautiful. Okay, the whole thing was beautiful. Still, Henry’s Fork is a place to see and the the gentle nature of the trail allows plenty of opportunities to gaze across the expansive basin. From Gunsight Pass we took the climbers shortcut over the shoulder of West Gunsight Peak. Here the difference between the experienced climbers and the croweds was evident. We found a route through the rocks that was rarely loose or difficult and put us no higher than we needed to go. Some other folks we saw scrambling up difficult sections that put them 100 or more feet above the shoulder – on the wrong peak!
From the shoulder of West Gunsight to Anderson Pass was a pleasant hike back to the trail, then an easy climb to the pass. Tory and I had a snack at the pass, dropped our packs and made for the summit. It was slow going, and the weather kept threatening rain–a combination that made me anxious. But the weather held off and in time we were at the summit. We had the summit practically to ourselves, as most the crowds had come and gone.
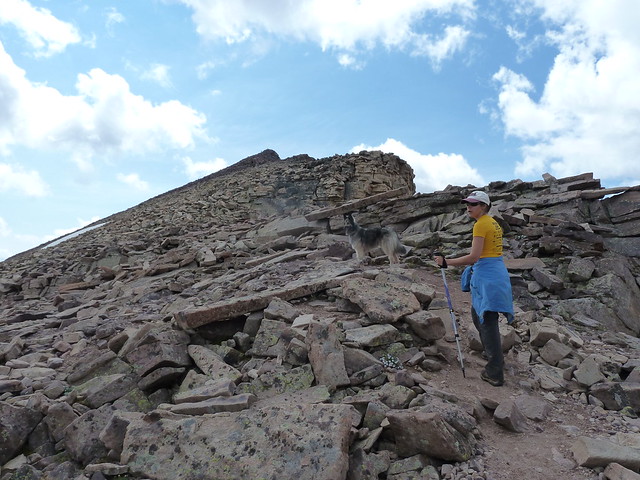
Wildflowers carpeted the fields below Gunsight Pass.Gunsight Pass and West Gunsight Peak.Tory makes her way, slowly but surely, toward the top of UtahIt’s gentle the whole way up, but then suddenly the top becomes very cliffy.The 3 of us at the summit!
As we made our way down the weather began to clear up. I decided to take a shot at Henry’s Fork Peak on the north side of Anderson Pass. I guess it would take me 40 minutes to get to the summit and back. As it turned out, it took closer to an hour. The summit was higher and further away than it looked. It was fun though, with a bit of an exposed ridge that was a nice change from Kings Peak.
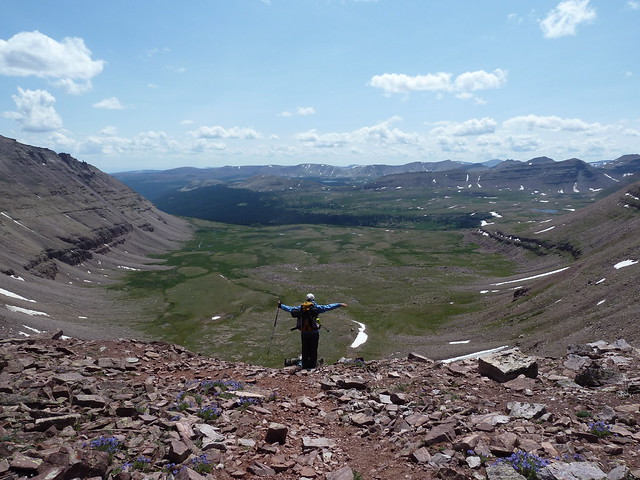
A view of much of the rest of our trip. The lake in the bottom left is Lake 11428, and wilson peak is the dark triangular peak on the left.Tory is all ready to drop off of Anderson Pass and get to camp.
After the fun on the peaks we were pretty tired and ready for camp. We made our way down the west side of the pass and into the basin. In order to reach Lake 11428, we left the trail and cut across country for about 0.8 miles. It was pretty easy as far as bushwhacking goes and the lake more than made up for it. Wind and rain started picking up and after a rushed dinner we ducked into the tent for a good night’s rest.
Wilson Peak reflected in the waters of Lake 11428.
Day 3: Lake 11428 to China Meadows Trailhead.
We woke up early enough to take a shot at Wilson Peak, another of Utah’s 13ers. I was drawn to Wilson because of the view of Red Castle Lakes, Kings Peak and the Yellowstone Basin. We climbed a bowl to the saddle between Wilson and East Wilson Peak, then scrambled up the class 3 southeast ridge to the summit. Both Tory and I agreed that Wilson was a more fun climb than Kings and were glad we went out of our way to climb it. To top it off, on the way down we were treated to a perfect glissade down the lingering snow field in the bowl.
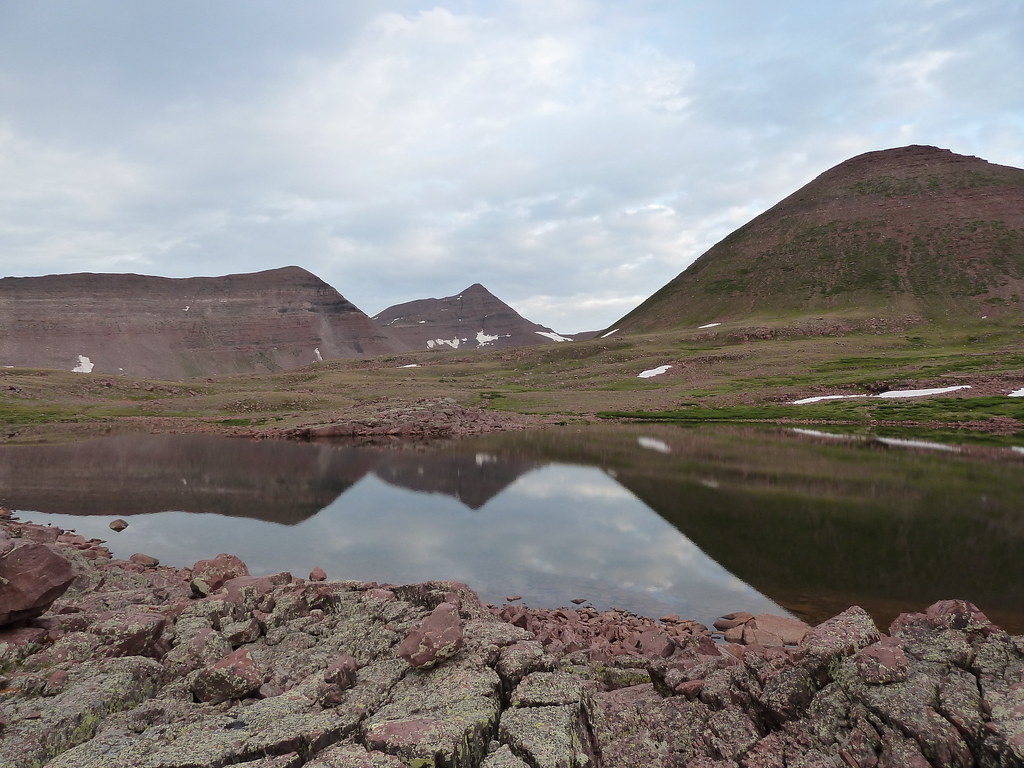
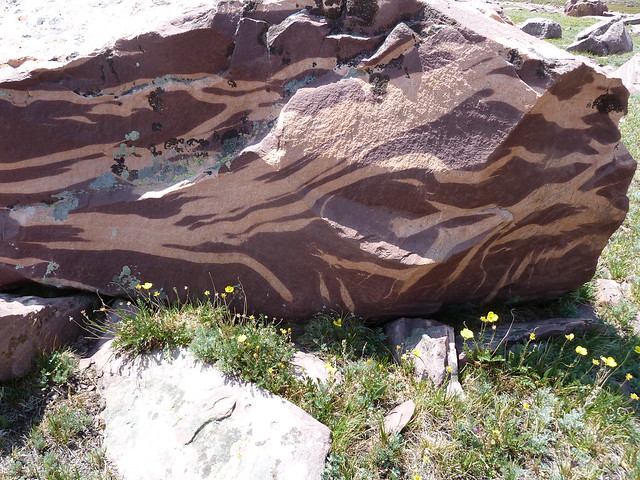
The east face of Wilson Peak. We climbed the ridge on the left.The giant Red Castle Lake from the top of Wilson PeakWe were surprised how wonderful the glissade down this snow field was. It was just soft enough to maintain a fast but safe descent.There were soooo many rocks with cool patterns like this. I have no idea how this happens but it is very cool. See more at my Flickr page by clicking this image.
After Wilson we came over Smiths Fork Pass then down past Smiths Fork Lake. I really wanted to see East Red Castle Lake and Lower Red Castle Lake so at the outlet of Smiths Fork Lake we once again left the trail and went across country. East Red Castle Lake was quick and easy to find and was stunning nestled underneath the ramparts or Red Castle. Getting to Lower Red Castle was a little trickier. The woods between the 2 lakes is a little tough to navigate. At times my GPS alerted me that I was heading exactly the wrong direction, despite the fact that it seemed I was going the right way. Once Lower Red Castle Lake was in view, however, we quickly made it down to the shore. We forded the lake just below the inlet, took lots of pictures, and met back up with the Red Castle Lakes Trail.
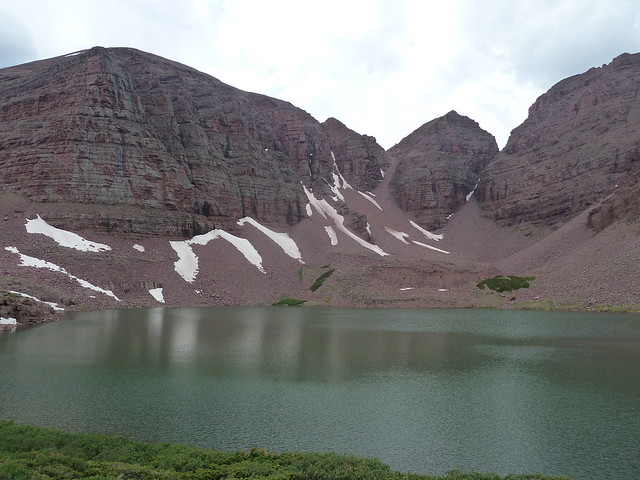
East Red Castle Lake is a short way off the trail and very worth the extra hike.Red Castle and Lower Red Castle Lake. One of the most popular spots in the High Uintas Wilderness and with good reason.
Our original plan was to camp at Lower Red Castle Lake but we were making such good time that we decided to camp further down the trail. Of course, when we got ‘further down the trail’ we were still making great time. My feet were getting seriously painful but Tory convinced me to continue all the way back to the car. In the end, it was worth the pain: not only did we have a bed and a shower at the Econolodge in Evanston that night, but we had enough time on Sunday to take the scenic road home.
It was a long, tiring, painful but beautiful hike out on Sunday.
I’m glad we did Kings Peak as a backpacking trip because there are just so many wonderful places in the Uintas. I highly recommend our route, especially Wilson Peak. If you would like more detailed information or a google earth track, please leave a comment or send me an email!
Kings’ Peak was Tory’s (and Vuyo’s) first State Highpoint! Go Tory!
Featured Image: Henry’s Fork Peak above the Yellowstone Creek Basin. Wilson Peak is the dark one in the middle.
Tory was out of town for the week so I was looking for a mountain to climb solo. I made an unofficial goal this year to climb the top 10 peaks in Idaho, as ranked by the Alpine 88 System. Those are:
So far I had done Hyndman and He Devil. Still a long way to go. North Twin seemed like a good place to start.
I drove up Friday evening and got up to Elbow Canyon just after dark. I drove the 4Runner as far as I felt comfortable, which got me to a great starting point at around 7,500′. Still, the summit was at 11,081′ and I had to climb over another peak to get there. I still had a long way to go.
My original plan was to do a traverse from Red Cone Peak all the way to Sunset Peak, hitting North Twin along the way, with a side trip to South Twin. That didn’t quite work out. It all started with a late start. After a restless night sharing the back of the 4runner with Vuyo, we didn’t get hiking until 6:00AM. I took an, if not unhiked, at least unwritten-about route up the north ridge of Red Cone. It was actually a fantastic route. Other than a little pain gaining the ridge at the beginning, everything went smooth. I was at the top of 10,286′ Red Cone in less than 3 hours. I was too excited about North Twin to stick around, though; within 1 minute I was on my way to the saddle.
At the saddle I stopped long enough to have a snack and allow Vuyo to feast on some snow. The route North Twin’s west ridge looked pretty daunting, but had more bark than bite. Other than one spot (where I foolishly let the dog lead the way) it was all class 2. The 1,200′ climb went by in a flash, and the view from the top was phenomenal.
It’s hard to get Vuyo to stand still, but when he does, he is quite photogenic. The summit of North Twin.
The view was phenomenal; the weather was not. Little puffy clouds had turned into big puffy clouds, and while I still had plenty of time to get safely down, I knew that going for sunset peak would be too much of a risk. I compromised, and instead headed for the saddle between PT 10,358 and PT 10,441. From there it looked like I could get below treeline with little fuss. And I’d climb over another peak to boot.
North Twin, with Red Cone Peak hanging out on the right. Without an SD card for my camera, I only had room for 6 photos–every one had to count.
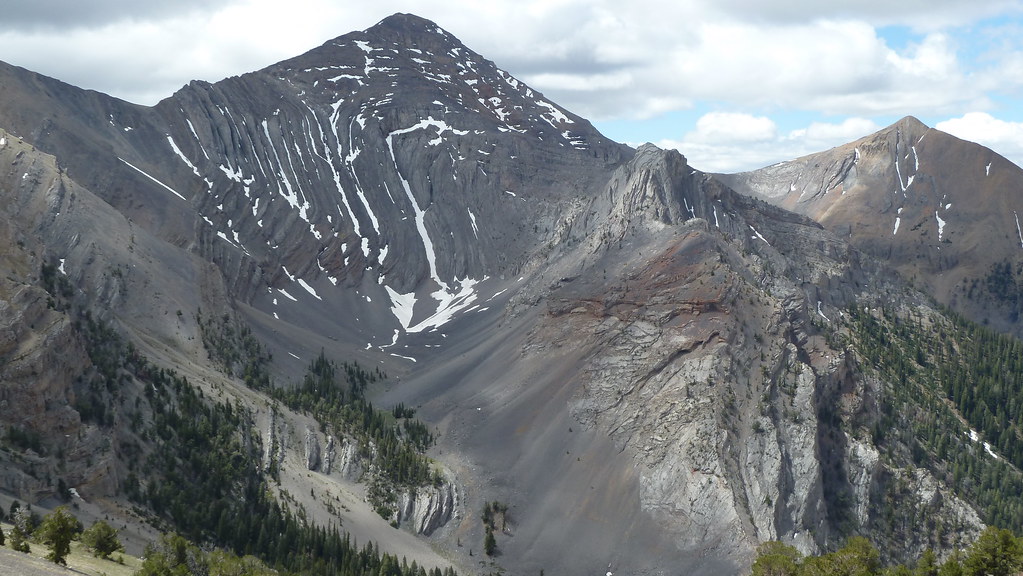
The traverse between North Twin and PT 10,677 was the crux of the climb. Just before the saddle you reach a spot where the tilted layers of the Lost Rivers cuts vertically across the ridge like a giant accordion, each with a small gorge cut between them. Finding my way through that terrain was tricky, and involved some class 3 downclimbing; downclimbing that could have been avoided if I dropped off the ridge onto the scree 100′ down. No thanks.
The impressive North Face of North Twin. You can see where those rock fins meet the ridge to make the crux of the climb.
PT 10,677 had a wonderful view of the Lemhis, and I was surprised to see how gently it dropped down all the way to the Little Lost River Valley below. From there it was just a few hump hops down to the saddle, which proved to be a great exit from the ridge. On the way down, just below treeline, I encountered a couple small caves that had clearly been recently occupied (piles of brush, bits of fur, and lots of guano) as well as a very, very old-looking campsite.
Can anyone tell me what this is? It was near the summit of PT 10.677. Looks like it could be for cattle but I can imagine them coming that high.
From there it was a shortish jaunt through the forest back to the 4Runner. I was down by 3pm and on my way back to Boise–but not without a stop at Pickle’s Place first for some delicious braised chicken and onion rings.
– – – – North Twin Loop – – – –
Difficulty: Difficult
Distance: Varies depending on where you park, but at least 6.5 miles
Elevation Gain: 4,500′
Prominence (North Twin) 3,444′ (#16 in Idaho)
Elevation: 11,081′
Highlights: Elevation gain is tough but other than one spot, the off-trail hiking is pretty easy. It’s the highpoint of the southern lost rivers and therefore the views are fantastic. Plus, how many big summit hikes are loops?
Elbow Canyon from near the summit of North Twin
Driving Directions: From the intersection in Arco, ID go north on US-93 for 18.7 miles to Pass Creek Road. Turn right, heading up toward Pass Creek Summit. 3.2 miles after the turn there is a sign on the right for “Elbow Canyon”. Turn right and follow this now dirt road. From here the road splits a few times, but as long as you’re heading toward Elbow Canyon, clearly visible to the northeast, you’ll make it. I found it easiest to just drive straight until you’re almost to the mountains, then turn 90-degrees left and head north to the mouth of the canyon. I’ve seen others suggest that a passenger car could make it, but the road had big ruts and I wouldn’t recommend it.
Hiking Directions: From however far you make it into elbow canyon, hike until you reach a large open meadow with views up to the peaks. Turn right (south) at a fork in the middle of the meadow and follow a faint trail up the draw. Follow this trail as far as you can, then find a spot to climb to the ridge on climbers left. There wasn’t a good spot to gain the ridge but the steep climb doesn’t last long. Once on the ridge, it’s a pretty easy and clear hike to the top of Red Cone Peak. From the summit, head east down to the saddle, then up the west ridge of North Twin. Anything harder than an easy class 3 can be avoided, just keep your eyes open.
Once at the summit, continue over the top (okay, you can stop and enjoy it a bit if you want 🙂 ) and down the east ridge. When you reach the saddle between North Twin and the next peak, PT 10,677, things get a bit tricky. Multiple rock fins block easy passage, but they can all be bypassed with little exposure by dropping down on climbers right. Pick your way around them then hike the easy climb up to PT 10,677.
Those formations look cool from afar but they are a challenge to navigate.
The hard part is over. Continue along the ridge toward the saddle mentioned above. It’s easy to pick out–it’s the only saddle that has trees growing almost all the way up, and the only saddle that looks like an easy downclimb. Head down, being careful to avoid the occasional cliff in the steep draw. Trails will fade in and out until you get approximately 1/4 mile from the meadow you started in. Then a nice trail picks up which you can follow all the way out.
And in case you’re wondering, the foul weather I ran into at the top was a bluff. It never rained a drop, and didn’t change even as I drove home from Arco.